Custom Oak Display Stands
A few months ago I decided to address my ongoing neck pain by raising the height for all 3 of my displays. I knew that good ergonomics dictated the top of a display needed to be around eye level. However, my eyes still spent most of their time looking downward. Frankly, I blame bottom oriented chat interfaces as well as my tendency to scroll and focus on code/content at the bottom of files.
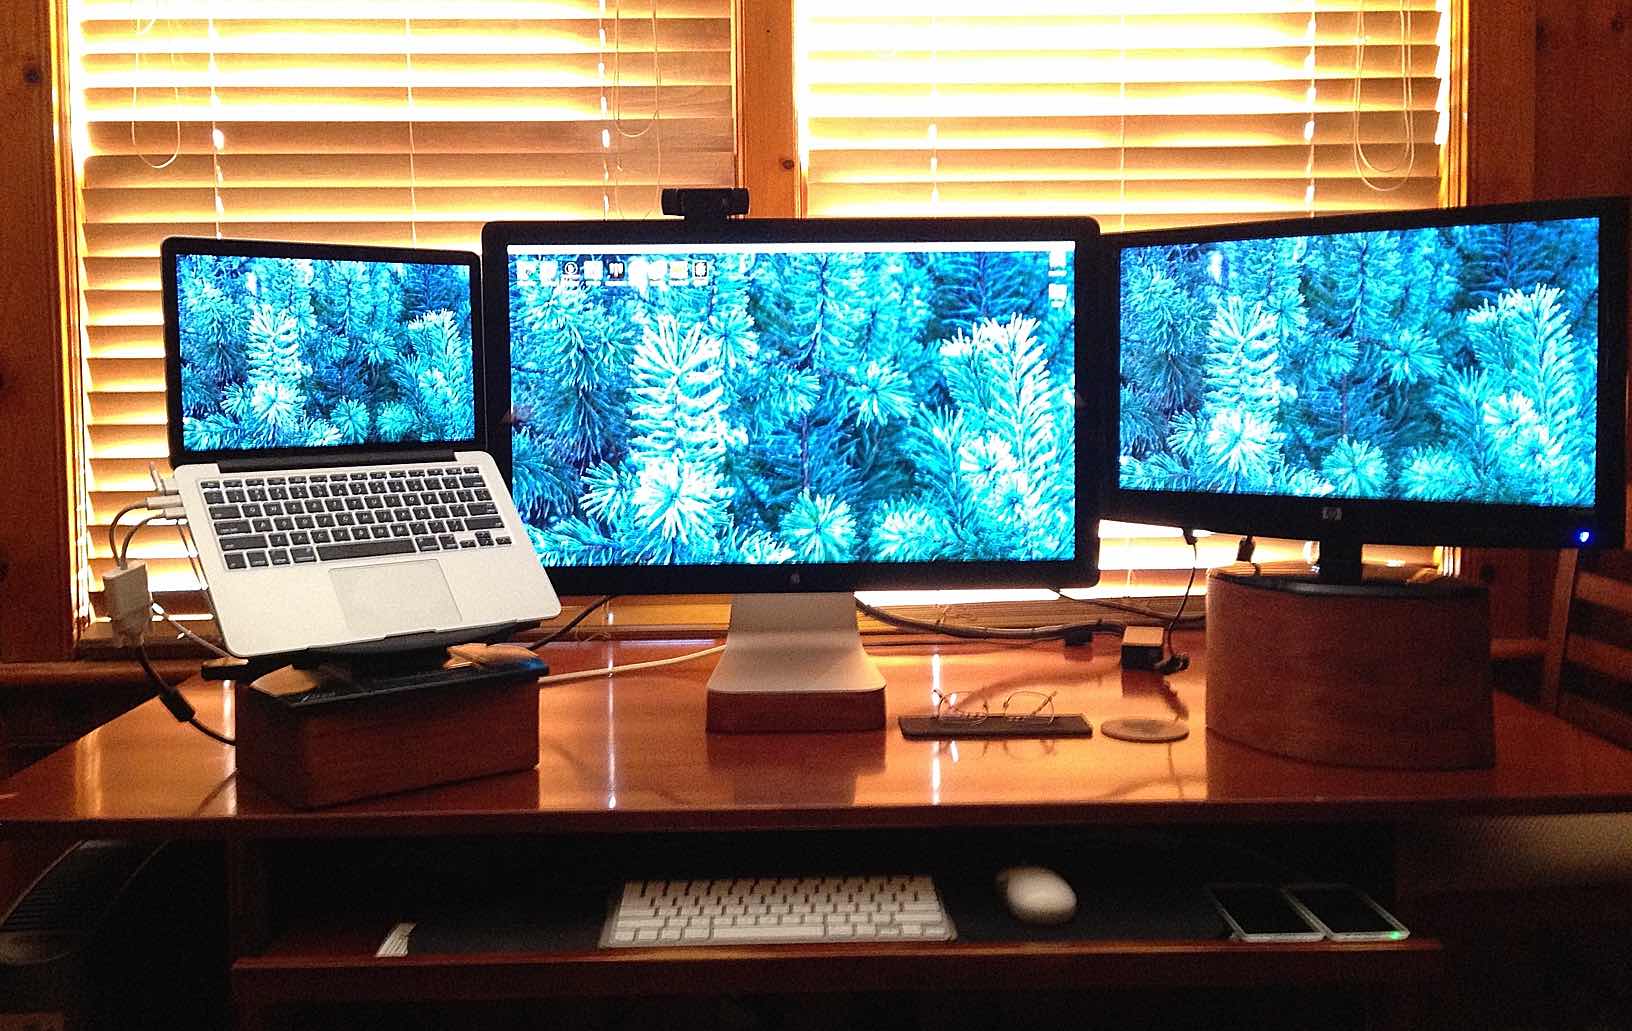
My solution back then was to grab any random box or book and move my displays' center to around eye level. Four months later, my MVP display change worked, no more neck pain! But I did have a new eye sore, those janky risers. I take great pride in my home office which includes solid pine paneling and oak mission furniture. In short, it was time for a wood working project. Here is a peak at the results, read on for the details.
The Rockwell BladeRunner
At CutomInk & Booster, we know all too well that the Blade Runner font makes a winning custom t-shirt. For that reason alone, I have been on the hunt for a Rockwell BladeRunner table saw and this project seemed like a perfect excuse. The BladeRunner would allow me to easily cut oak planks to perfectly match the shape of each of my displays' base.
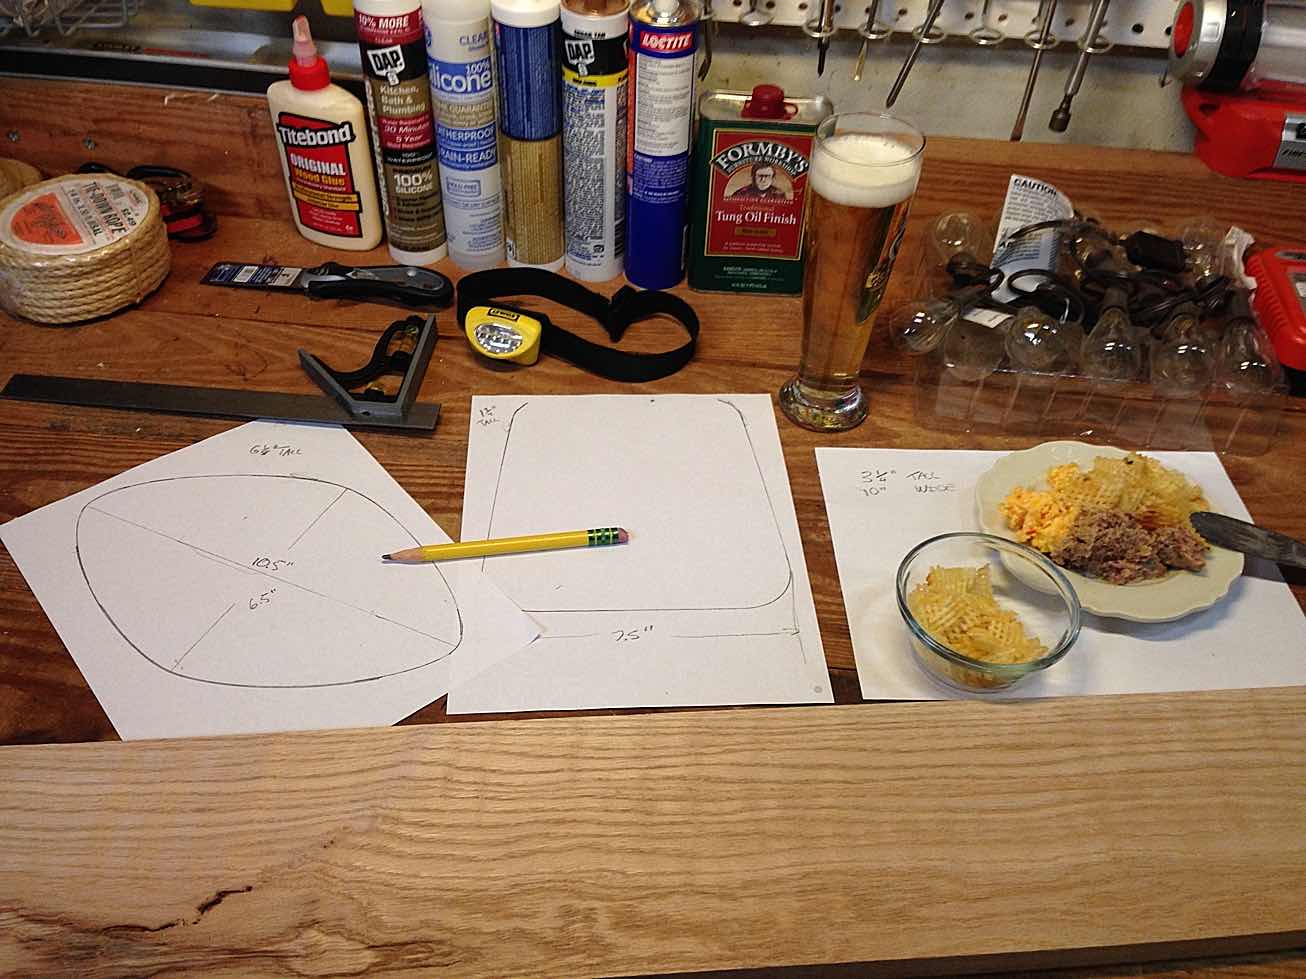
I first made a template on paper, pictured below. This allowed me to get some crude dimensions on the size and shape of the lumber I would need. I highly recommend that you trace your final templates on cardboard. The studier template will make it easier to transfer an outline to your wood pieces. Also, note how every good woodworking project needs beer, ham, and cheese!
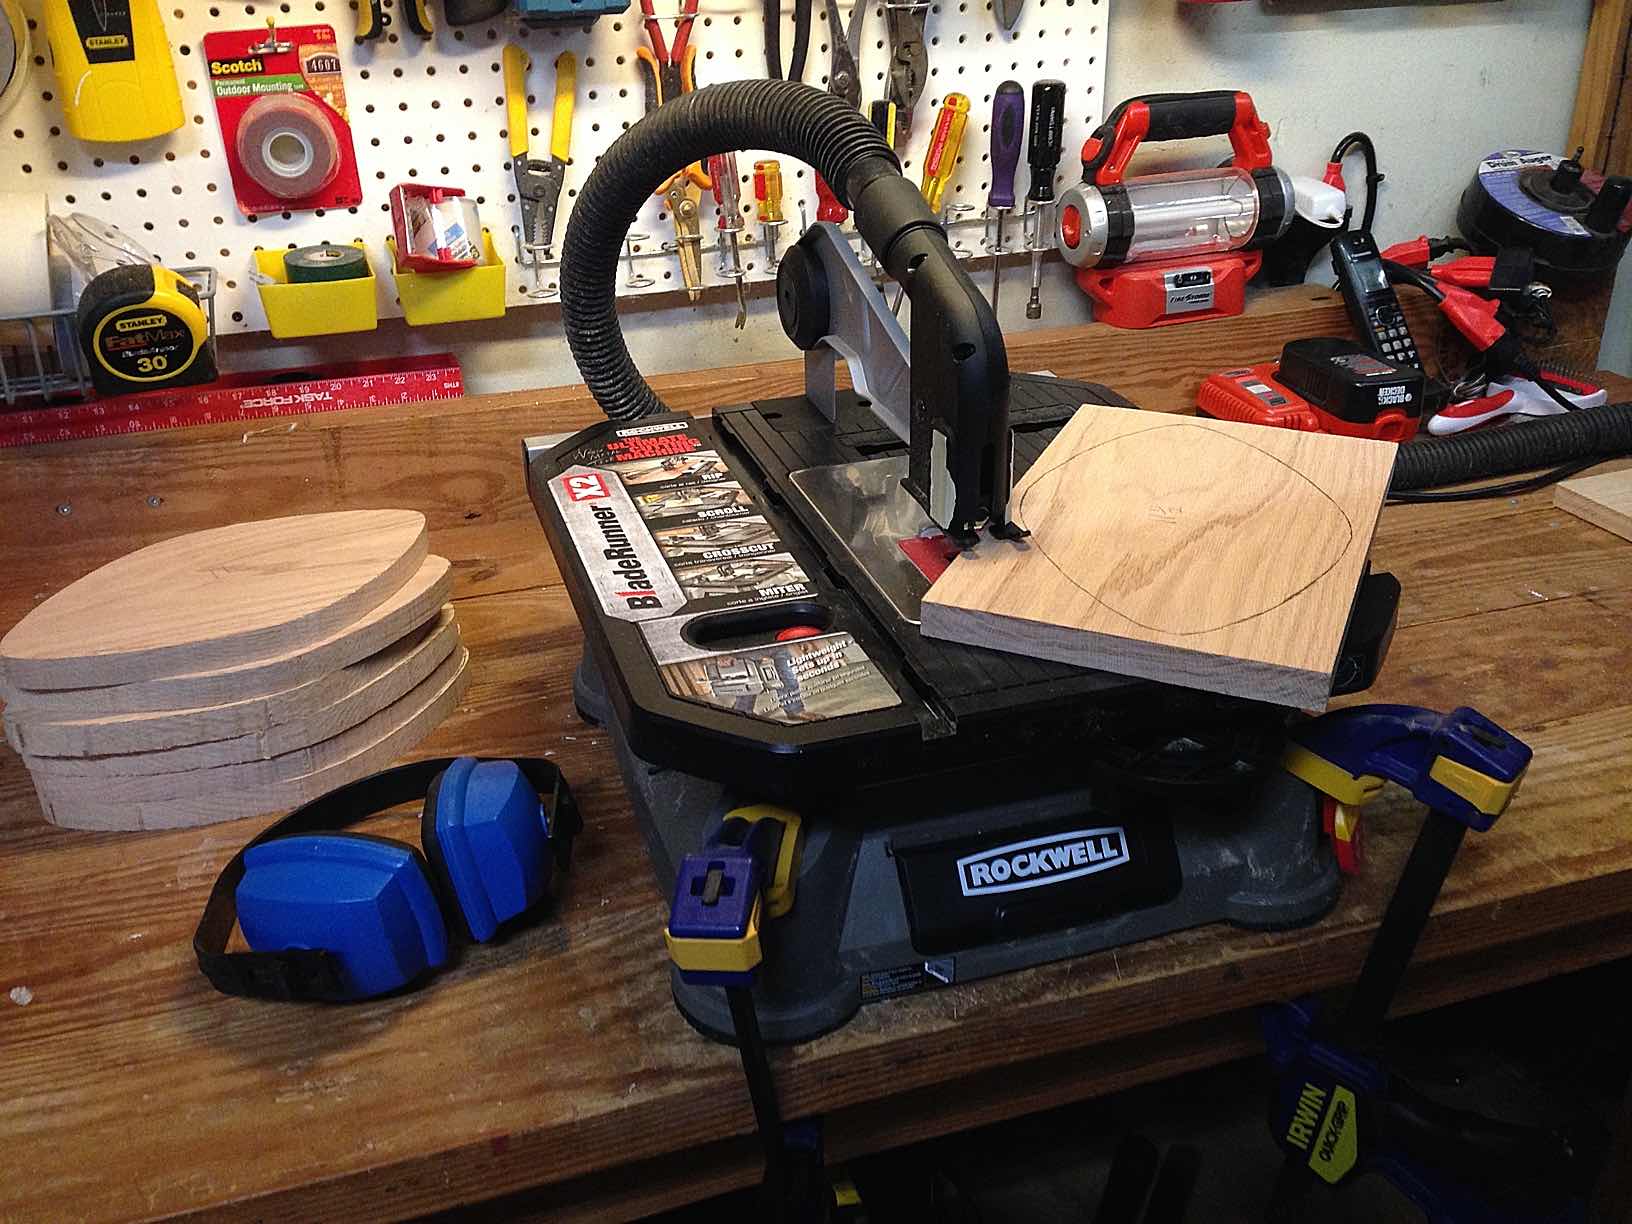
From here I marked and cut each plank on my new BladeRunner. A few things to watch out for. First, oak is obviously hard! Make sure to get a few spare blades. Second, it really helps if you can secure the BladeRunner to your work table. I did this using the same clamps that I would use later to hold my laminated pieces together. Securing the BladeRunner will allow you to use a bit of turning force when cutting rounded edges.
Putting Things On Top Of Other Things
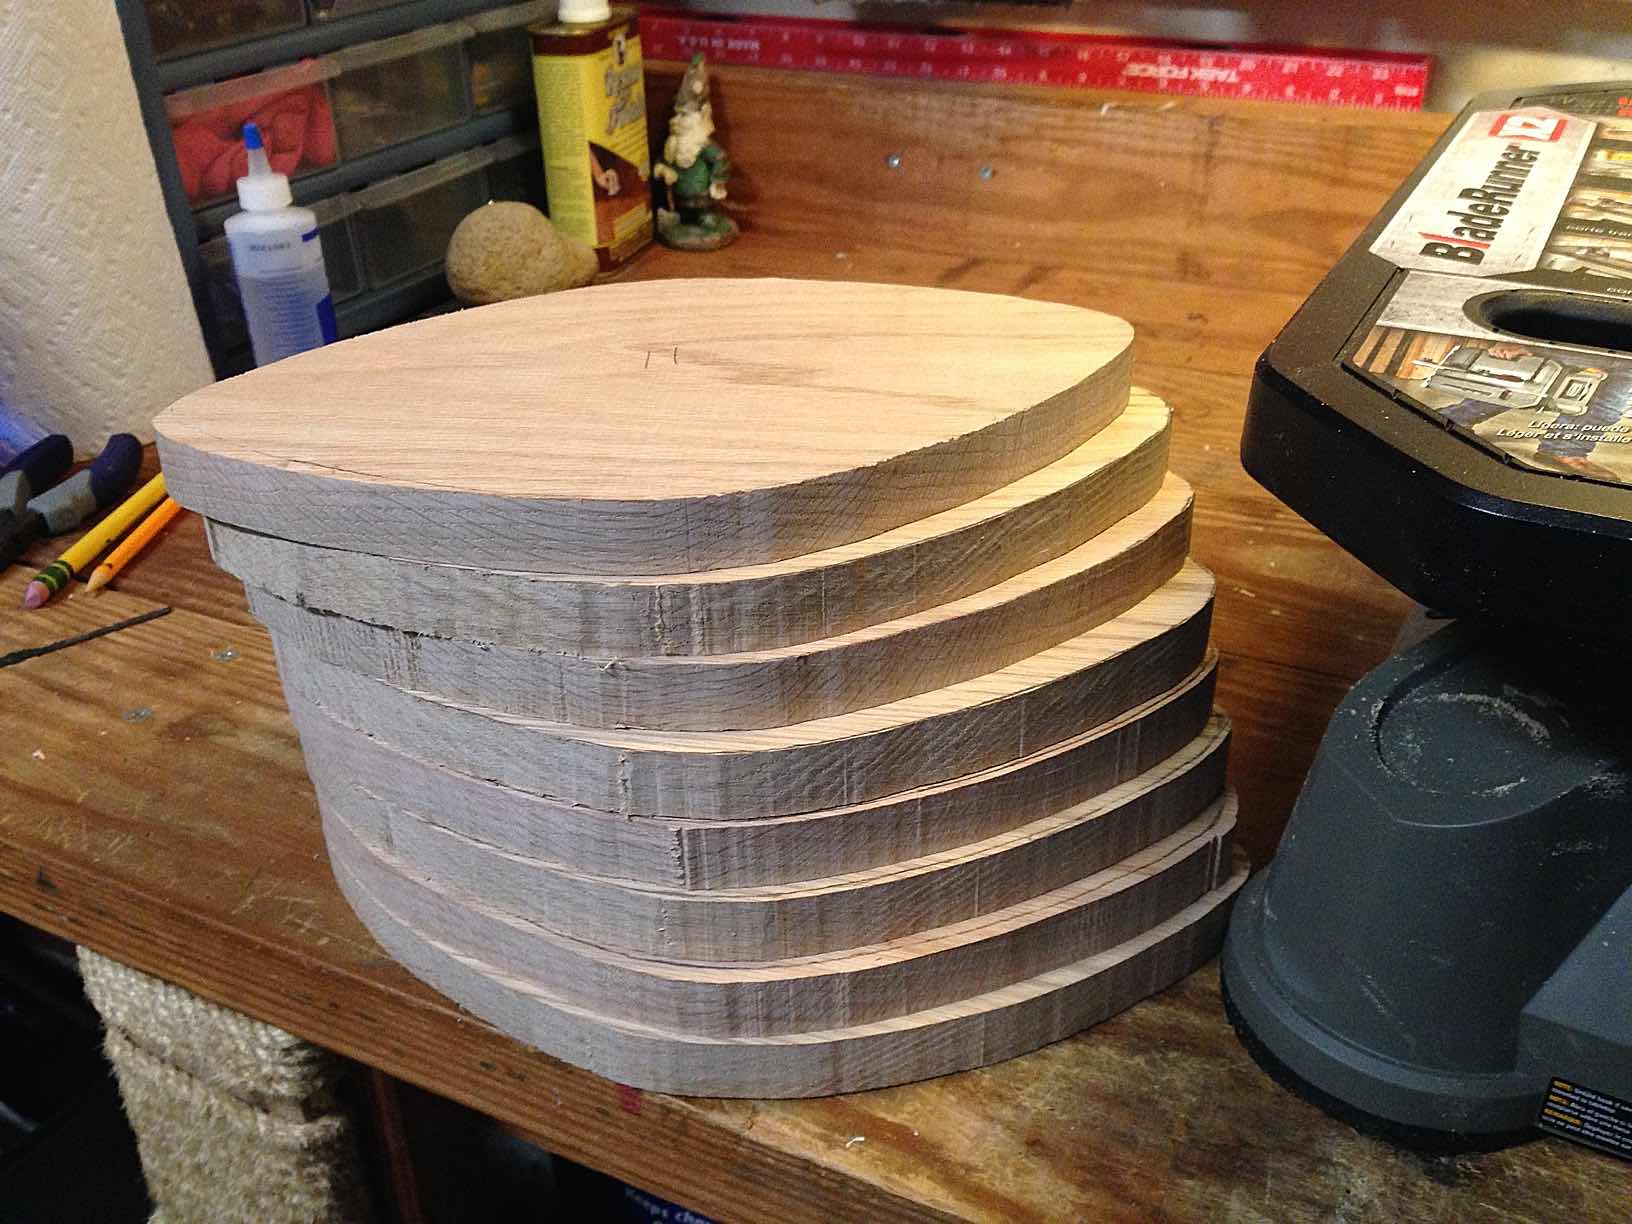
In the fine tradition of placing things on top of other things, my custom stands will rely on laminating a stack of cut planks. My HP display needed to be 6" tall which required 8 total 3/4" pieces. To make the final stand appear more sculpted, each plank after the 4th downward was cut 1/8" wider than the previous. My Thunderbolt display stand followed the same technique but only required two pieces.
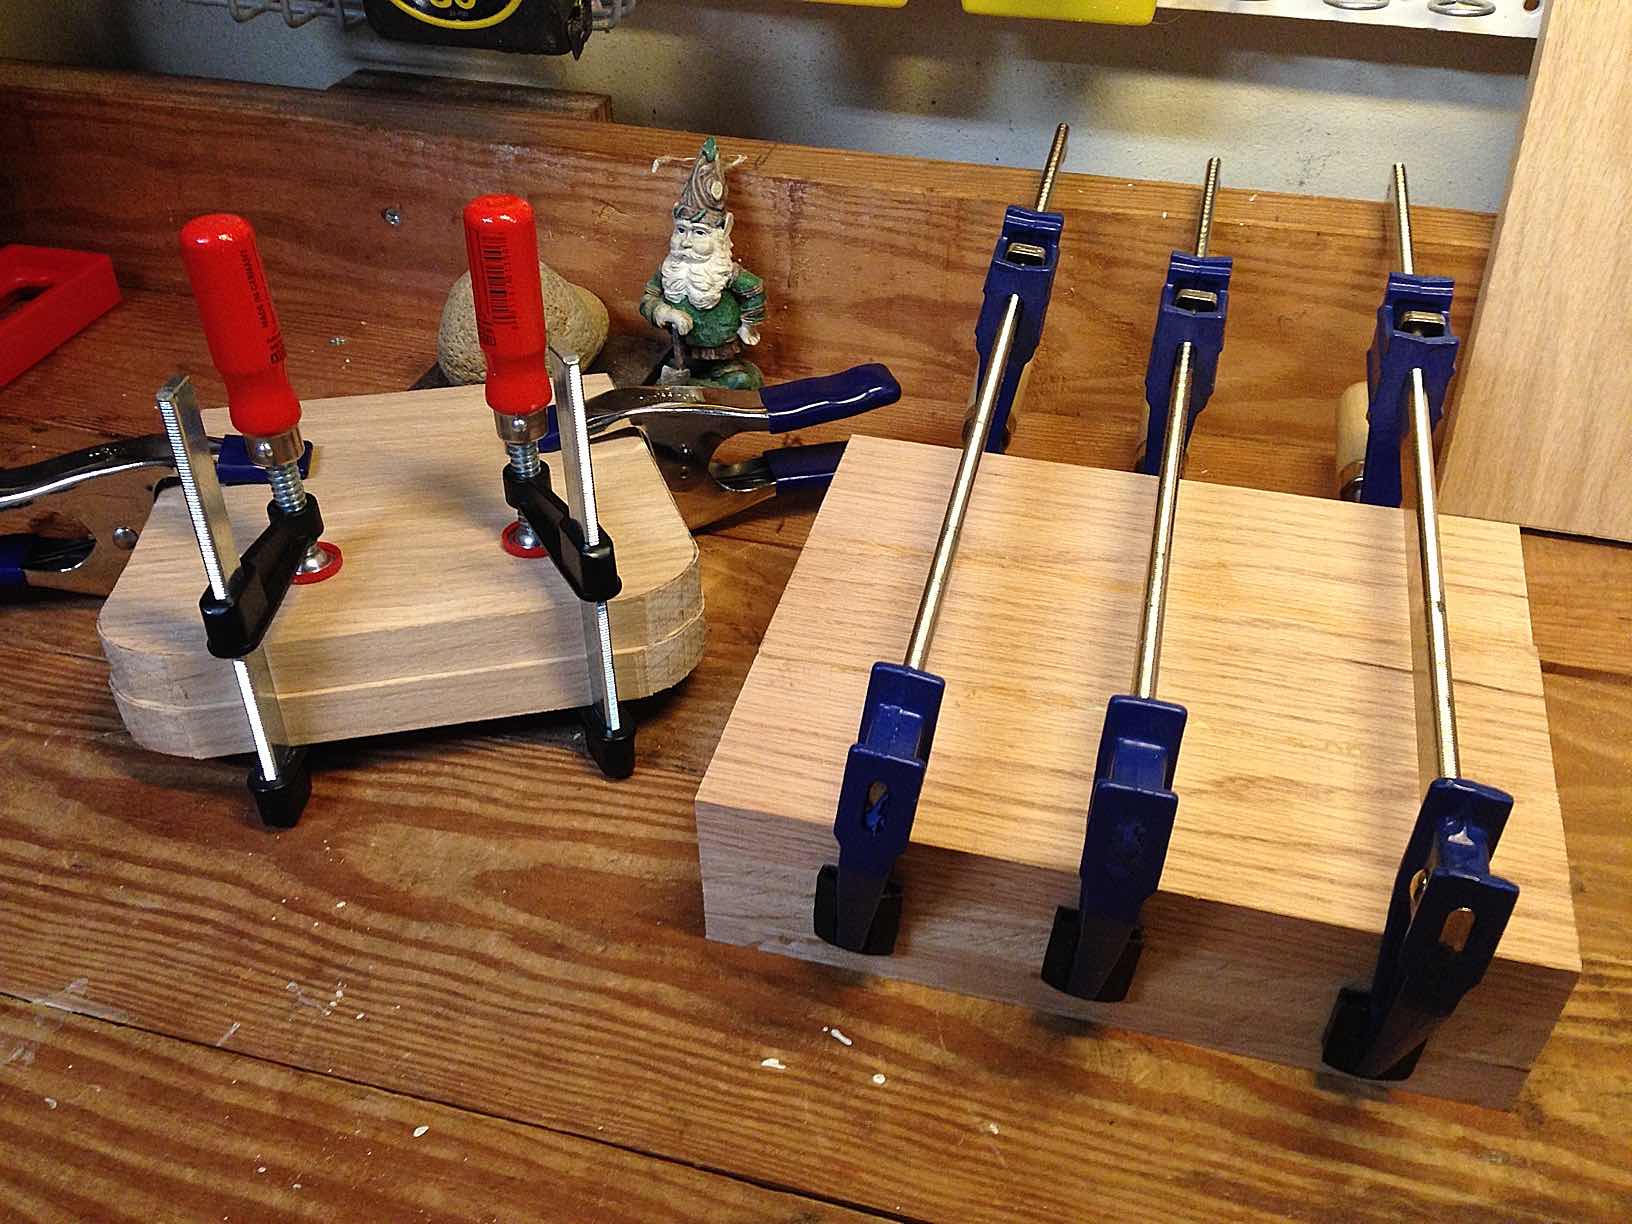
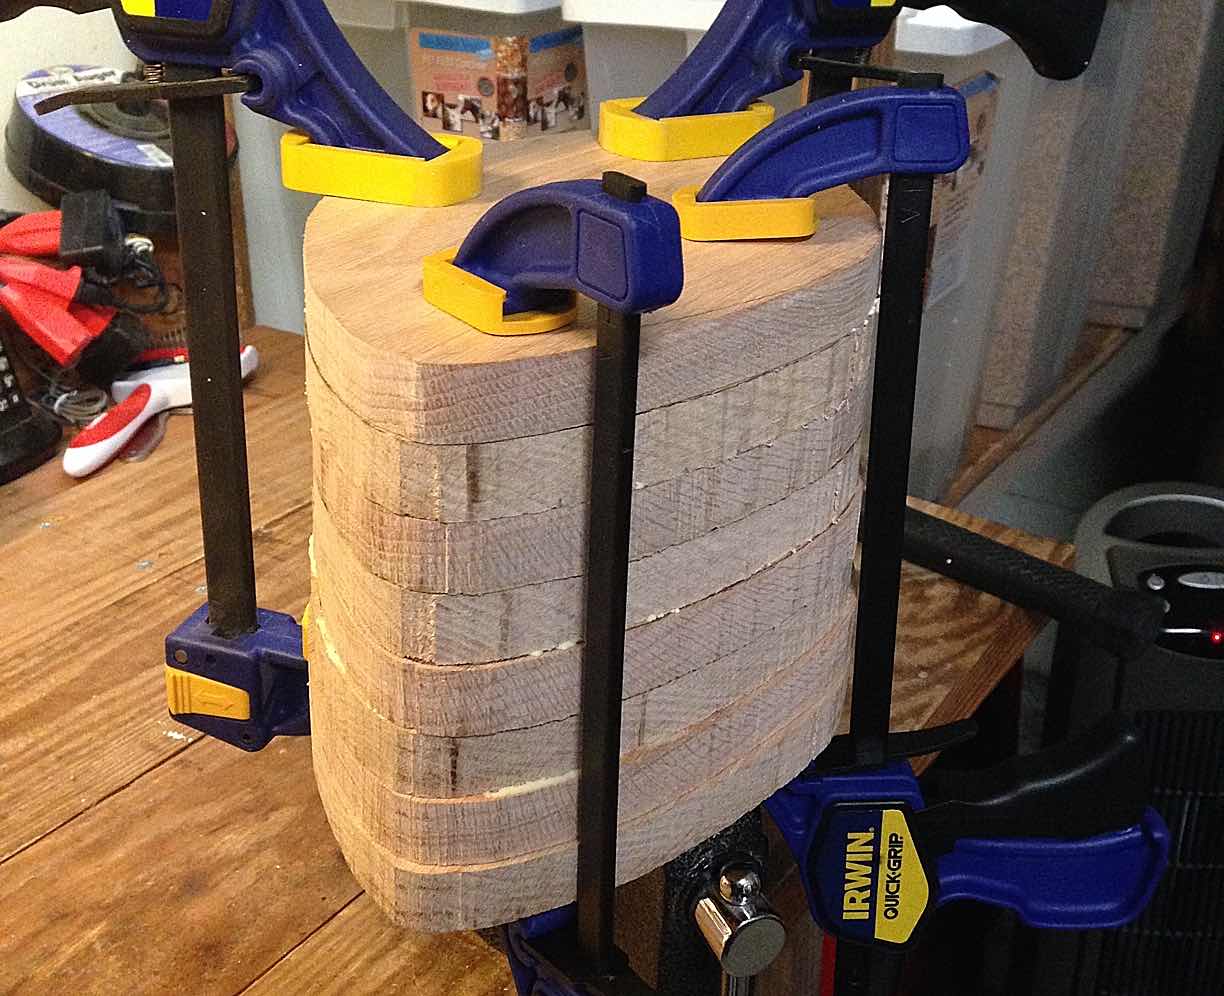
Depending on your final shape and dimensions, you will need some good clamps to hold everything together. Make sure to apply your glue with a craft brush so that the entire glue area is covered.
Ad Hoc Sanding Station
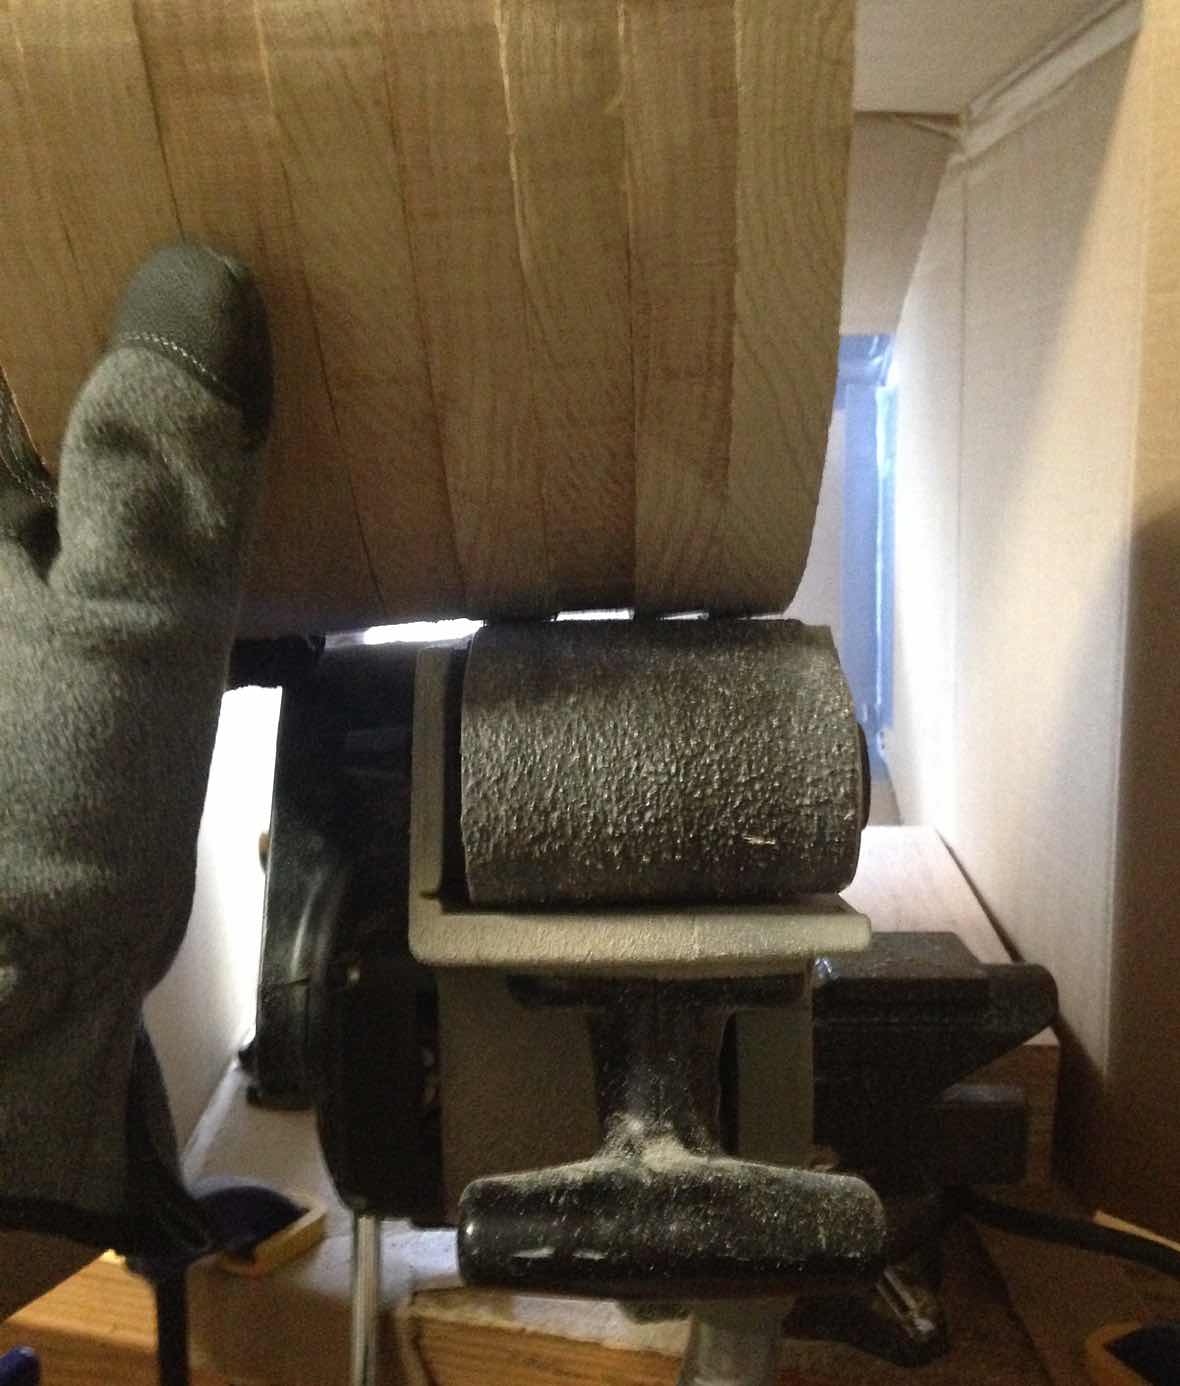
Given that I had to taper sand a self made oak "stump", I knew my work was cut out for me. Ideally this type of sanding required some sort of fixed vertical belt sander. My solution was to mount my Porter Cable upside down in my work bench's vice grip. I even built a dust hood out of an Amazon Prime box (we got tons of those) hooked up to the Shop-Vac.
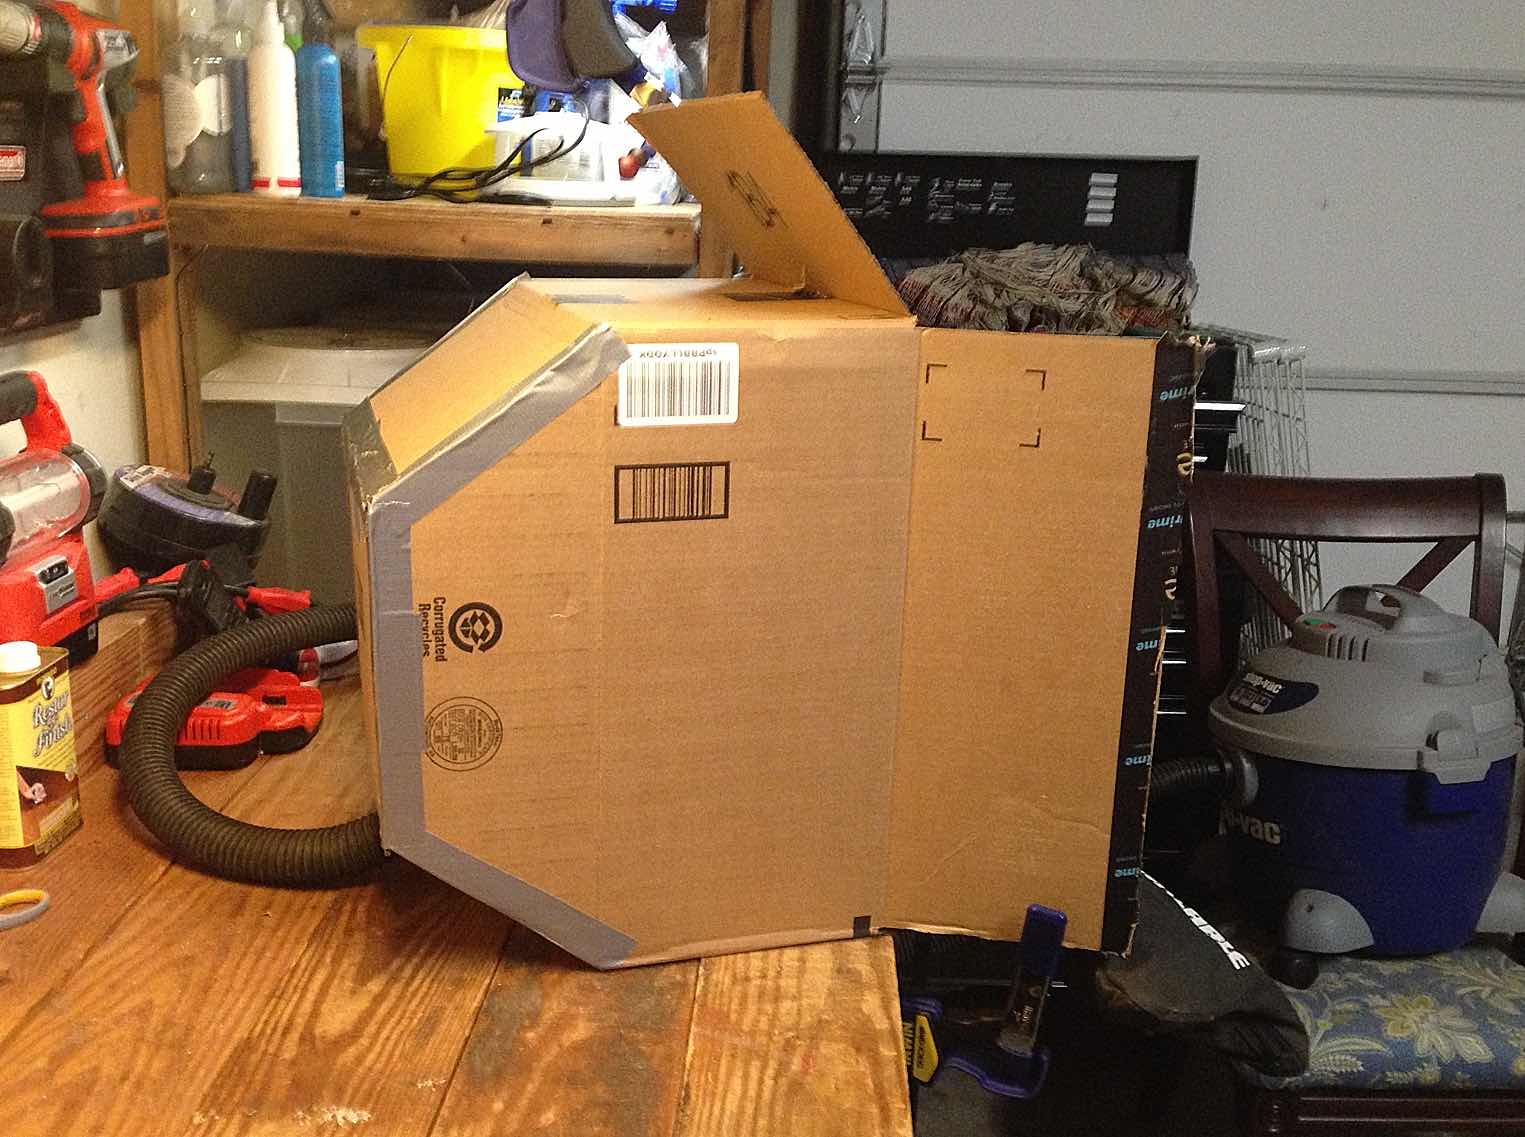
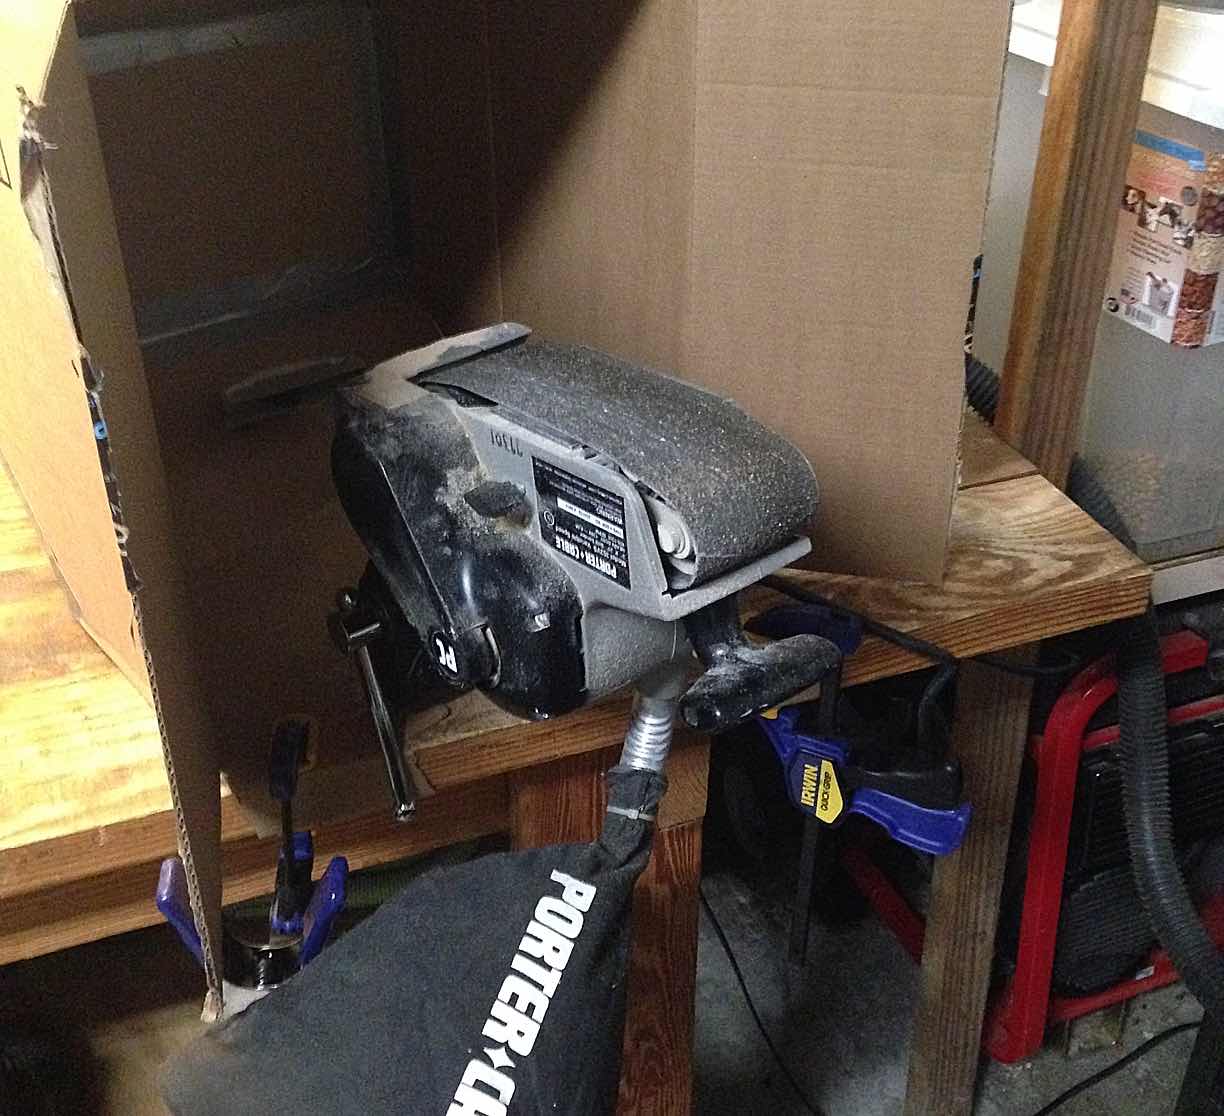
This setup worked really well. I placed a shop light in the box too so that I could watch the piece while I sanded it. This helped me keep from over sanding which would have been easy to do given that I was using a 30-grit ceramic belt.
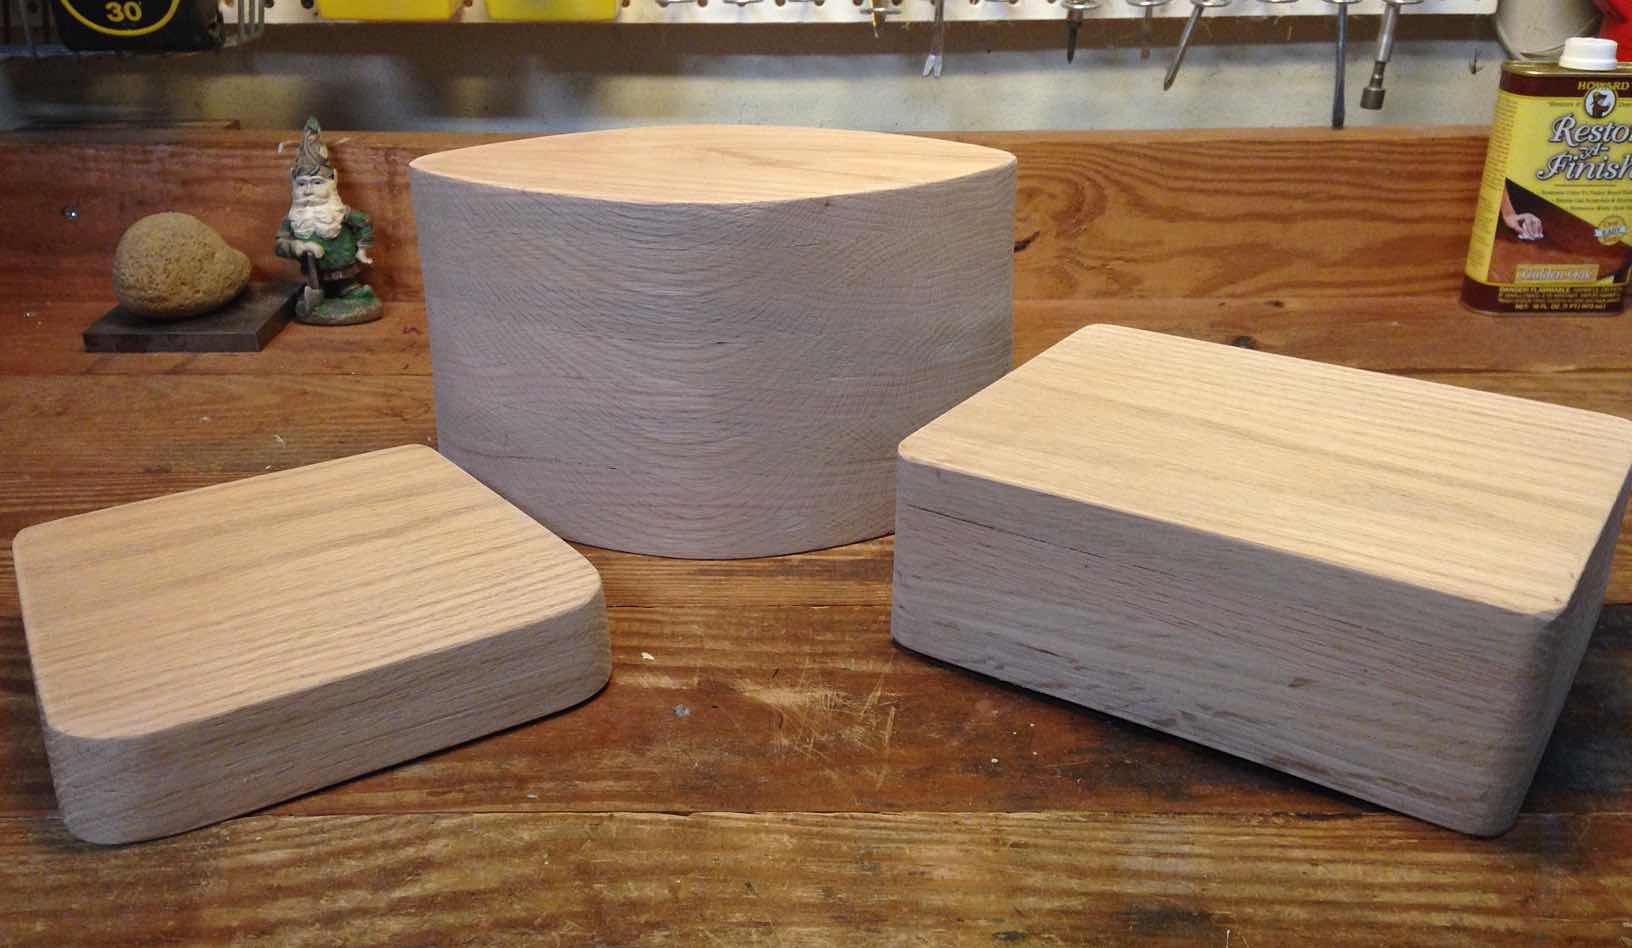
Finishing Touches
Here are all 3 pieces after all the sanding was done. I went from the 30-grit, 60, 120, and then 300. I did everything past the 30-grit using a simple hand block. Using a belt sander for finner grits easily leads to burn marks. Lastly, I made sure to round off the hard corners on the edges of the wood too.
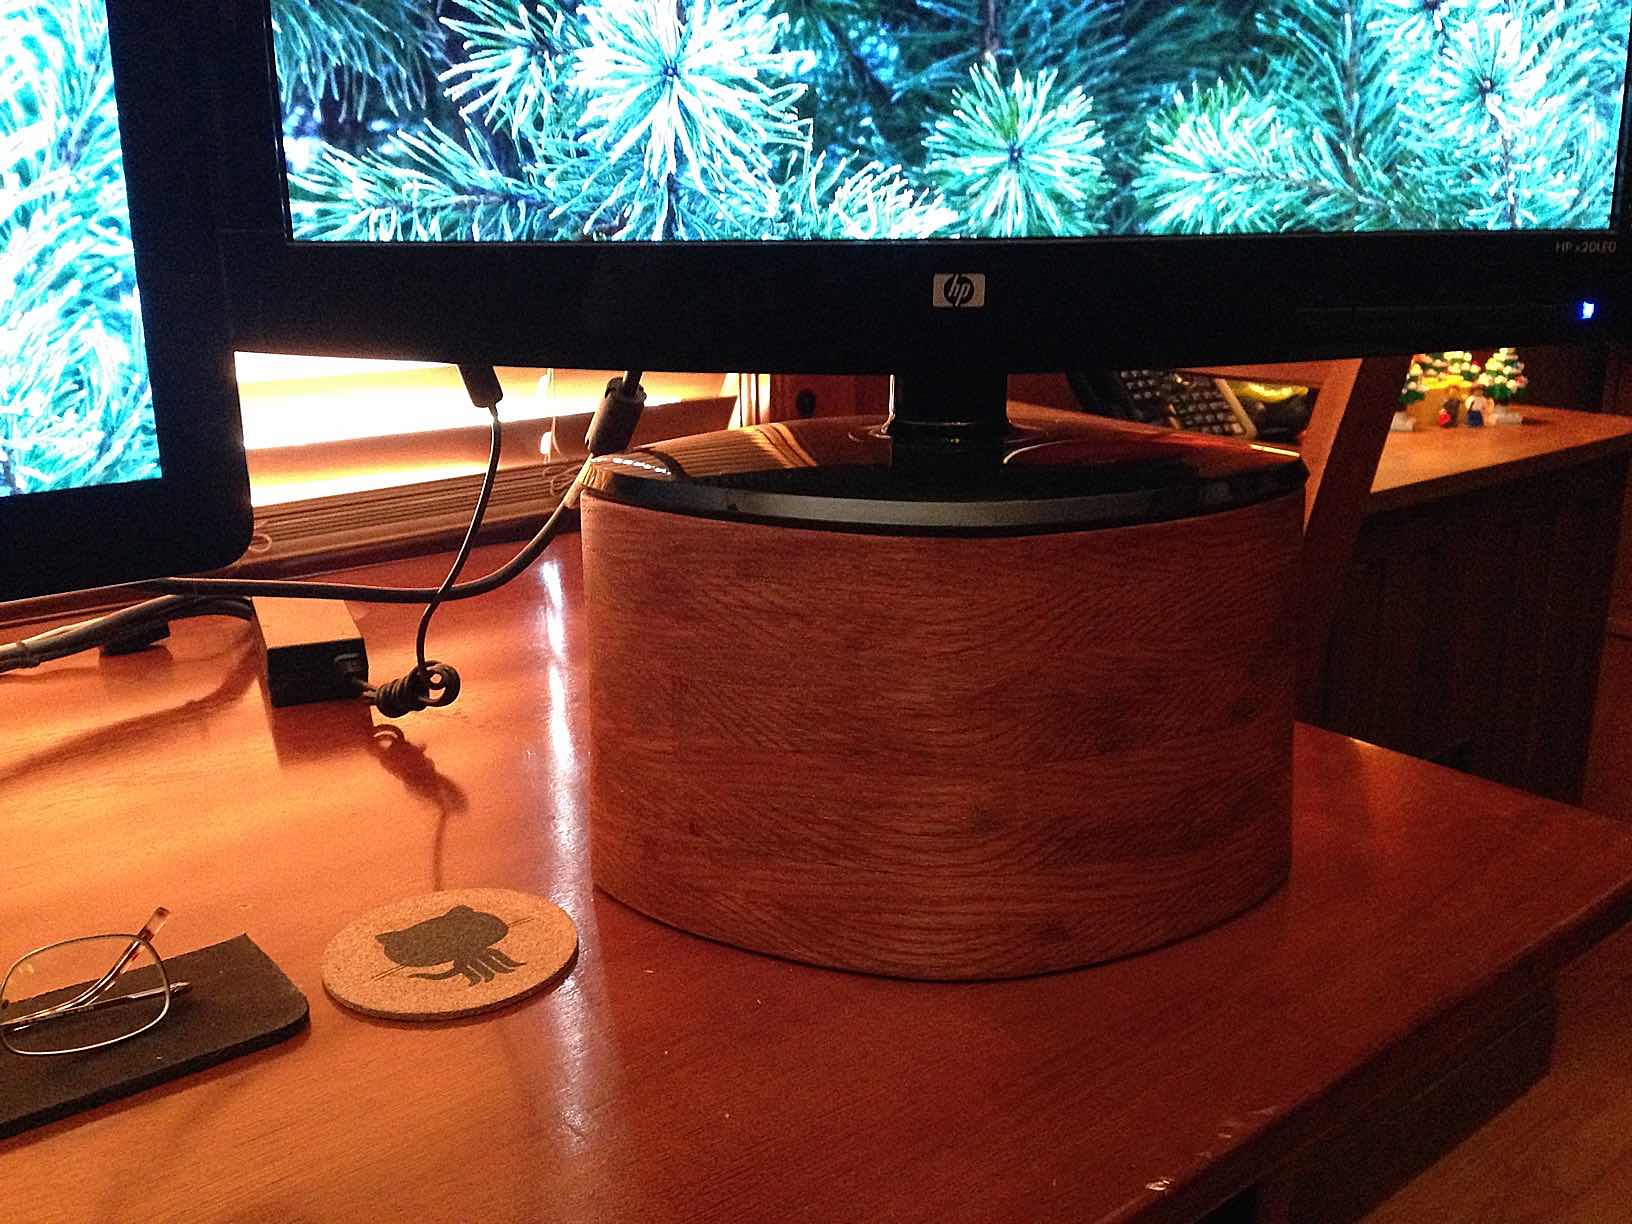
For the finish, I chose a simple traditional cherry stain since this both matches my office's pine paneling and mission desk. The picture below shows one coat of satin polyurethane.
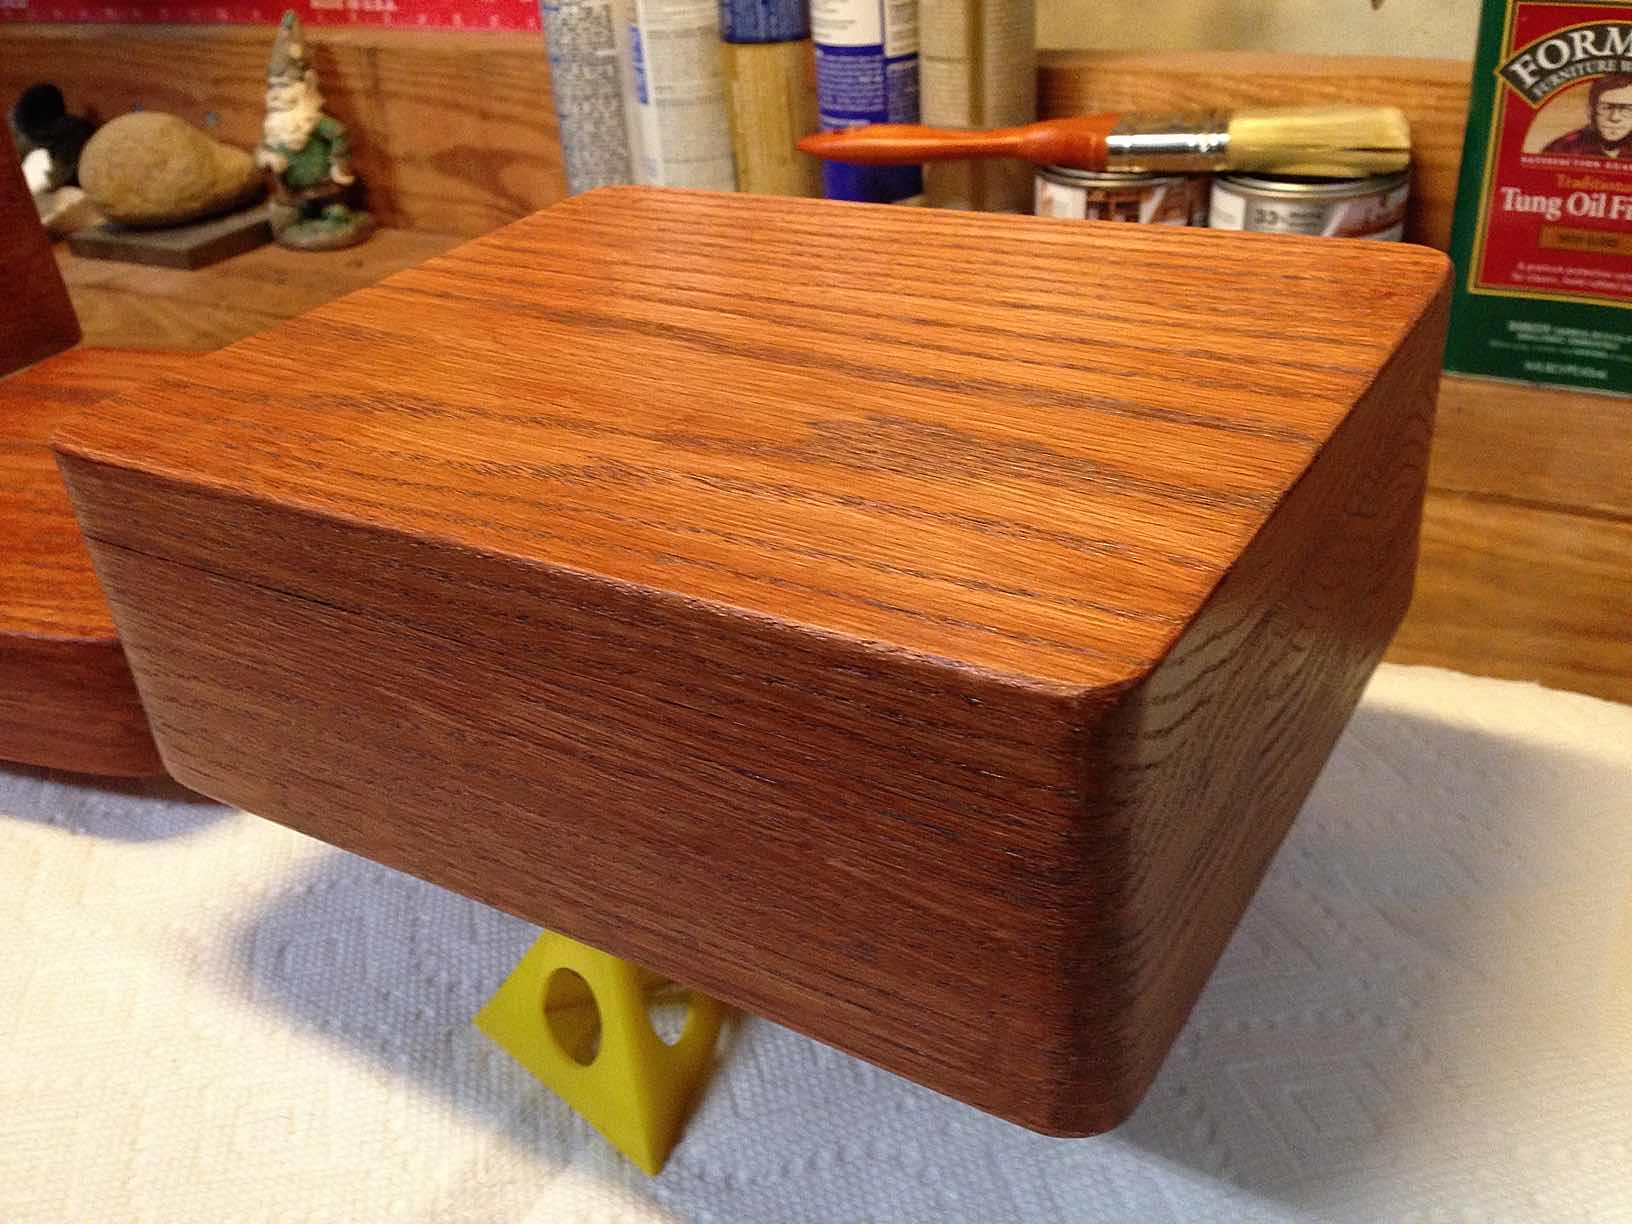
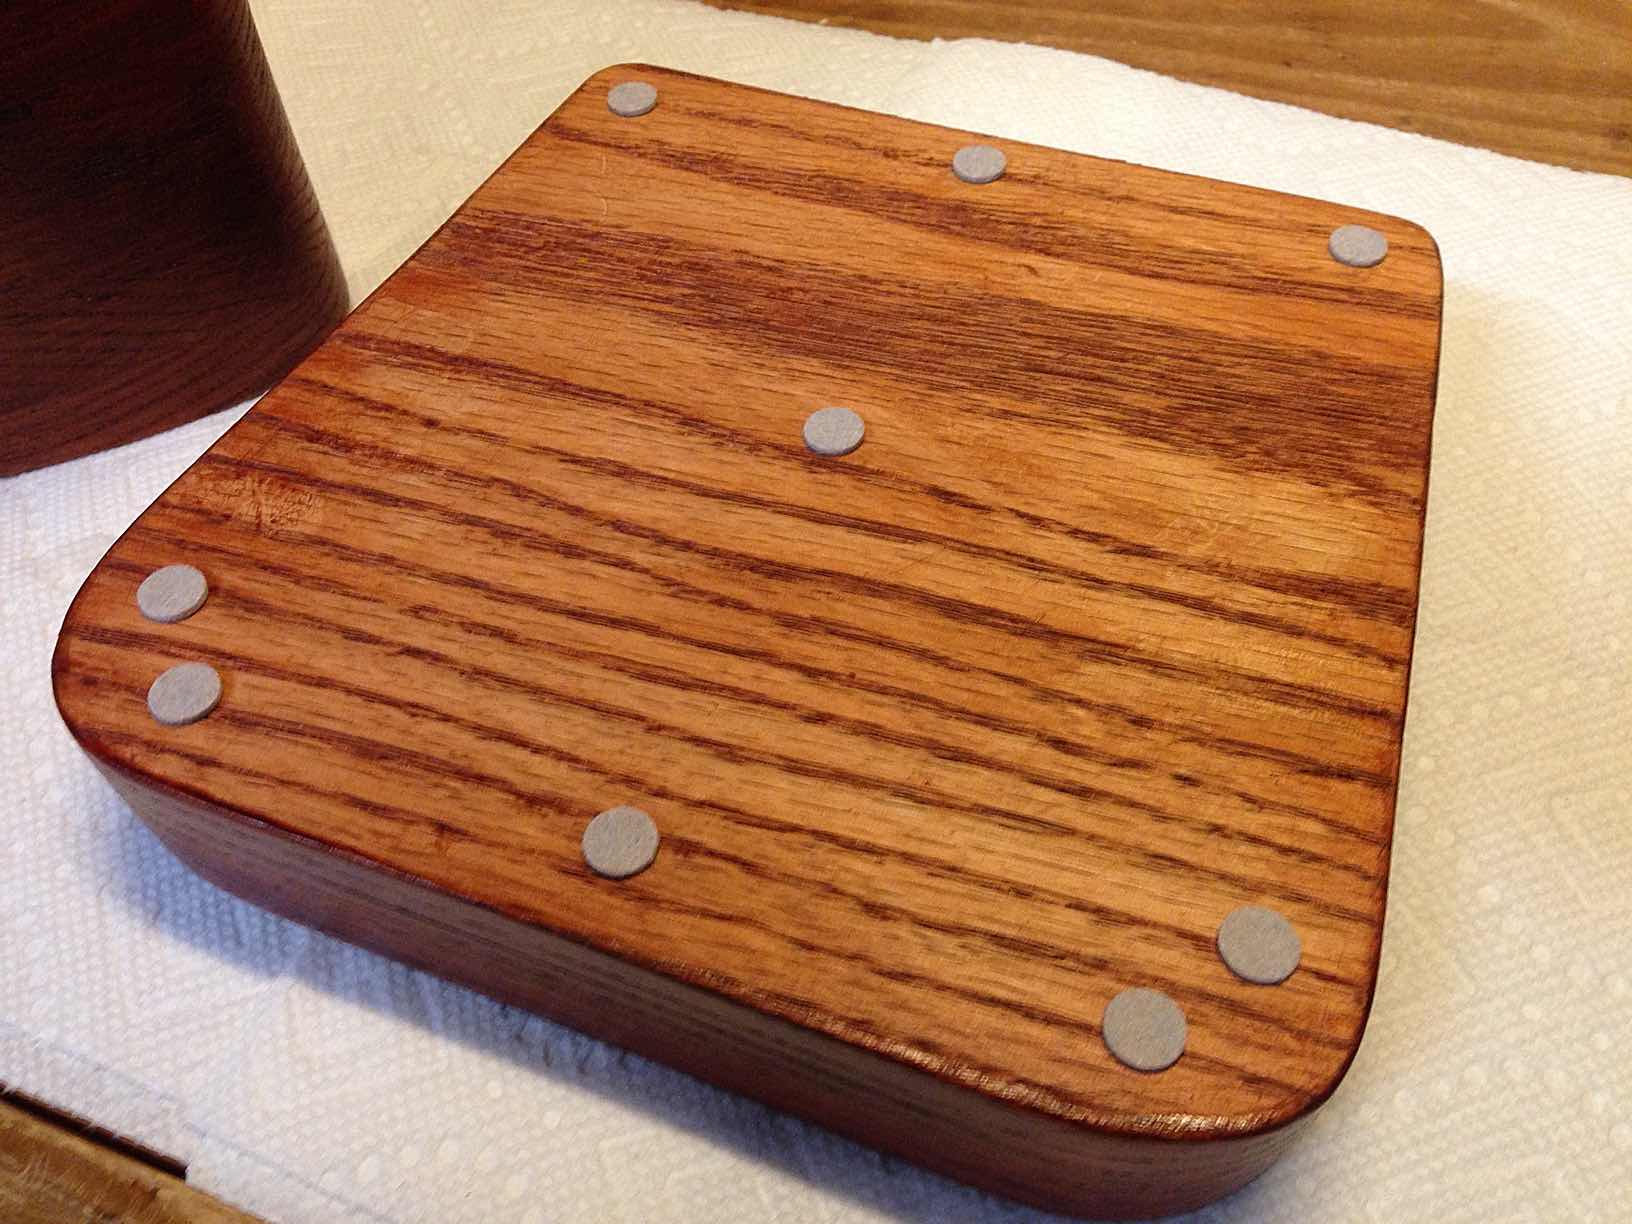
After allowing the stain and polyurethane to dry for a day, I smoothed off any rough edges with a soft steel wool. The last step was to add a handful of small felt guards to the bottom of each stand. This would allow me to easily adjust all my displays without scratching my desk.
The Results
Back to a clean and clutter free work environment with no clunky boxes or books in the way :)